重点
- 如果使用multi-pipeline, 则在
---之后不能跟注释。而且multi-pipeline之间的无法共通数据,每个新的pipeline就是一个完全新的环境。 - 能在DockerFile中处理的,就不要放在drone中处理。
- 同一Pipeline不同step可以相互引用生成的文件,不同Pipeline完全独立。都是重新的目录,新的clone文件。
Drone Pipeline的构建命令都是在一个容器中去执行的,比如要使用Helm来部署应用,就需要容器有helm,并能够目标Kubernetes集群联通。一种方式:可以自己做一个镜像,把 helm 命令和连接集群的配置文件都内置到里面去,但这样不是很灵活,不具有通用性。另一种方法: Drone 的插件机制,使用插件配置。
示例
go项目
项目 go代码:
下面是用go-web框架gin创建一个简单的 web 服务,在 GitHub 上创建一个名为 drone-demo 的代码仓库,Clone 到本地,添加名为 main.go 的文件,内容如下:
 1
 2
 3
 4
 5
 6
 7
 8
 9
10
11
12
13
14
15
16
17
18
19
20
21
22
23
| package main
import (
"net/http"
"github.com/gin-gonic/gin"
"github.com/sirupsen/logrus"
)
func main() {
r := gin.Default()
r.GET("/health", func(c *gin.Context) {
c.JSON(http.StatusOK, gin.H {
"health": true,
})
})
if err := r.Run(":8080"); err != nil {
logrus.WithError(err).Fatal("Couldn't listen")
}
}
|
服务监听在 8080 端口,提供了一个简单的/health路由,返回一个简单的 JSON 消息表示应用状态状态,本地我们使用的是 go1.11.4 版本,所以可以通过 Go Modules 来管理应用的依赖,在项目目录下面执行 mod init:
项目DockerFile:
生产环境,建议在DockerFile中多阶段构建来将项目的构建和打包工作放在同一个 Dockerfile, 此处为了研究Drone的Pipeline使用,将两步分开。
在项目根目录下面创建 Dockerfile 文件,内容如下:
 1
 2
 3
 4
 5
 6
 7
 8
 9
10
11
12
13
14
15
16
17
18
19
| FROM alpine
WORKDIR /home
# 修改alpine源为阿里云
RUN sed -i 's/dl-cdn.alpinelinux.org/mirrors.ustc.edu.cn/g' /etc/apk/repositories && \
apk update && \
apk upgrade && \
apk add ca-certificates && update-ca-certificates && \
apk add --update tzdata && \
rm -rf /var/cache/apk/*
COPY demo-app /home/
ENV TZ=Asia/Shanghai
EXPOSE 8080
ENTRYPOINT ./demo-app
|
构建结果文件demo-app拷贝到镜像中去执行来构建镜像,手动构建生成该文件命令是在根目录下面执行 go build 命令:
1
2
3
4
5
| # build
CGO_ENABLED=0 GOOS=linux GOARCH=amd64 go build -o demo-app
# docker image
docker build -t hex/drone-demo .
|
项目 .drone.yml
项目根目录下创建一个名为.drone.yml文件,文件内容如下:
 1
 2
 3
 4
 5
 6
 7
 8
 9
10
11
12
13
14
15
16
17
18
19
20
21
22
23
24
25
26
27
28
29
30
31
32
33
34
35
36
37
38
39
40
41
42
43
44
45
46
47
48
49
50
51
52
53
| kind: pipeline
name: default
steps:
- name: linter
image: golang:latest
environment:
GOPROXY: https://mirrors.aliyun.com/goproxy/
commands:
- go get -u github.com/golangci/golangci-lint/cmd/golangci-lint
- golangci-lint run
- name: build
image: golang:latest
environment:
GOPROXY: https://mirrors.aliyun.com/goproxy/
commands:
- CGO_ENABLED=0 go build -o demo-app
- name: docker
image: plugins/docker
settings:
repo: hex/drone-demo
use_cache: true
username:
from_secret: docker_username
password:
from_secret: docker_password
tags:
- latest
when:
event: push
branch: master
- name: deploy
image: quay.io/ipedrazas/drone-helm
environment:
STABLE_REPO_URL: https://mirror.azure.cn/kubernetes/charts/
SERVICE_ACCOUNT: tiller
API_SERVER:
from_secret: api_server
KUBERNETES_TOKEN:
from_secret: kubernetes_token
KUBERNETES_CERTIFICATE:
from_secret: kubernetes_ca
settings:
client-only: true
wait: true
recreate_pods: true
chart: ./helm
release: drk8d
values_files: ["./helm/my-values.yaml"]
namespace: kube-ops
|
说明:
- linter: 在
golang:latest镜像中执行任务commands中的命令 - build: 在
golang:latest镜像中执行任务commands中的命令 - docker: 使用官方插件
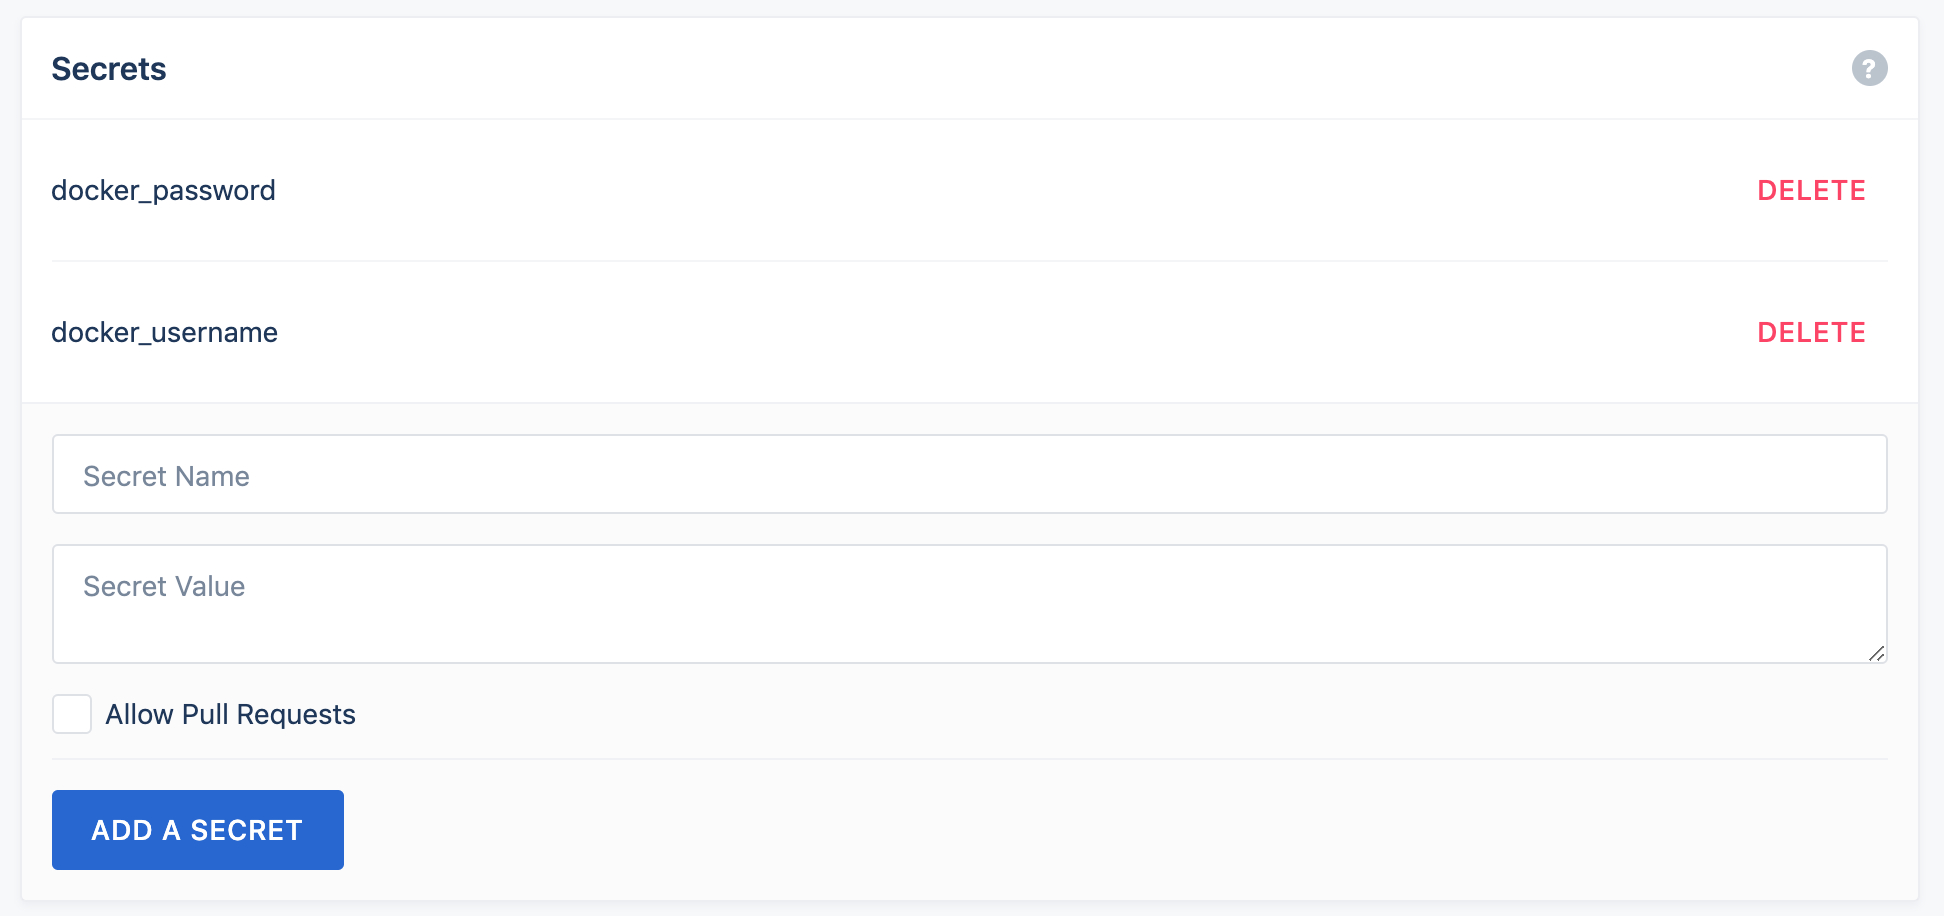
plugins/docker,该镜像可以指定Dockerfile 的路径,镜像的tag,以及镜像仓库的用户名和密码。
此处用户名密码通过secret的方式传入。该secret可以通过drone-cli创建,也可以Drone网页配置。
- deploy: 使用官方插件
drone-helm
Drone 的插件页面找到和 Helm 相关的插件:http://plugins.drone.io/ipedrazas/drone-helm/,这个插件的基本用法如下:
1
2
3
4
5
6
7
8
9
| pipeline:
helm_deploy:
image: quay.io/ipedrazas/drone-helm
skip_tls_verify: true
chart: ./charts/my-chart
release: ${DRONE_BRANCH}
values: secret.password=${SECRET_PASSWORD},image.tag=${TAG}
prefix: STAGING
namespace: development
|
上面Pipeline相当于:
1
| helm upgrade --install ${DRONE_BRANCH} ./charts/my-chart --namespace development --set secret.password=${SECRET_PASSWORD},image.tag=${TAG}
|
helm连接Kubernetes集群可以通过API_SERVER、KUBERNETES_TOKEN、KUBERNETES_CERTIFICATE 三个环境变量来指定。
API_SERVER就是集群的APIServer服务地址;KUBERNETES_TOKEN获取通过创建一个 ServiceAccount,去绑定一个的集群角色权限(比如cluster-admin),然后获取ServiceAccount 对应的TOKEN。比如我们 Helm 的服务端 Tiller 服务对应的 ServiceAccount,我们可以这样来获取:
1
2
3
4
| $ kubectl -n kube-system get secrets | grep tiller
tiller-token-z4f6k kubernetes.io/service-account-token 3 115d
$ kubectl get secret tiller-token-z4f6k -o jsonpath={.data.token} -n kube-system | base64 --decode
eyJhbGciOiJSUzI1NiIsImtpZCI6IiJ9.xxxxx.jO7vEZCzLbtBg
|
证书信息同样可以通过上面的 secret 来获取:
1
| kubectl get secret tiller-token-z4f6k -o jsonpath={.data.ca\\.crt} -n kube-system
|
注意: 证书信息不需要用 base64 解码。
node项目
  1
  2
  3
  4
  5
  6
  7
  8
  9
 10
 11
 12
 13
 14
 15
 16
 17
 18
 19
 20
 21
 22
 23
 24
 25
 26
 27
 28
 29
 30
 31
 32
 33
 34
 35
 36
 37
 38
 39
 40
 41
 42
 43
 44
 45
 46
 47
 48
 49
 50
 51
 52
 53
 54
 55
 56
 57
 58
 59
 60
 61
 62
 63
 64
 65
 66
 67
 68
 69
 70
 71
 72
 73
 74
 75
 76
 77
 78
 79
 80
 81
 82
 83
 84
 85
 86
 87
 88
 89
 90
 91
 92
 93
 94
 95
 96
 97
 98
 99
100
101
102
103
104
105
106
107
108
109
110
111
112
113
114
115
116
117
118
119
| workspace:
base: /data/apps/opt
path: web-im
pipeline:
restore-cache:
image: drillster/drone-volume-cache
restore: true
mount:
- node_modules
- tag
volumes:
- /data/apps/opt/web-im:/cache
build:
image: node:7.8
privileged: true
commands:
- npm run build
- mkdir -p publish/demo/javascript
- cp -r demo/images publish/demo
- cp -r demo/stylesheet publish/demo
- cp -r demo/javascript/dist publish/demo/javascript/
- cp -r demo/javascript/src publish/demo/javascript/
- mkdir publish/sdk
- cp -r sdk/dist publish/sdk
- cp -r sdk/src publish/sdk
- cp sdk/*.* publish/sdk
- cp -r webrtc publish
- cp favicon.ico publish/
- cp index.html publish/
- cp CHANGELOG.md publish/
- cp package.json publish/
- cp webpack.config.js publish/
- cp README.md publish/
- cp .babelrc publish/
- cp -rf publish image/docker/webim/webim
- echo 'build success'
when:
branch: [ dev, online ]
dockerize-latest:
image: plugins/docker
environment:
- DOCKER_LAUNCH_DEBUG=true
debug: true
repo: docker-registry-cn.easemob.com/kubernetes/im/webim
tags: latest
registry: docker-registry-cn.easemob.com
secrets: [ docker_username, docker_password ]
dockerfile: image/docker/webim/Dockerfile
context: image/docker/webim/
when:
branch: dev
deploy-latest:
image: docker-registry-cn.easemob.com/kubernetes/im/webim-deploy:latest
pull: true
environment:
- DOCKER_LAUNCH_DEBUG=true
- TAG=latest
secrets: [ ssh_key, jumpserver_host, jumpserver_port, sandbox_host ]
debug: true
when:
branch: dev
dockerize-online:
image: plugins/docker
environment:
- DOCKER_LAUNCH_DEBUG=true
debug: true
repo: docker-registry-cn.easemob.com/kubernetes/im/webim
tags: ${DRONE_COMMIT:0:7}
registry: docker-registry-cn.easemob.com
secrets: [ docker_username, docker_password ]
dockerfile: image/docker/webim/Dockerfile
context: image/docker/webim/
when:
branch: online
deploy-online:
image: docker-registry-cn.easemob.com/kubernetes/im/webim-online:latest
pull: true
environment:
- DOCKER_LAUNCH_DEBUG=true
- TAG=${DRONE_COMMIT:0:7}
secrets: [ ssh_key, jumpserver_host, jumpserver_port, online_host ]
debug: true
when:
branch: online
rollback-online:
image: docker-registry-cn.easemob.com/kubernetes/im/webim-rollback:latest
pull: true
environment:
- DOCKER_LAUNCH_DEBUG=true
secrets: [ ssh_key, jumpserver_host, jumpserver_port, online_host ]
debug: true
when:
branch: rollback
rebuild-cache:
image: drillster/drone-volume-cache
rebuild: true
mount:
- node_modules
- tag
volumes:
- /data/apps/opt/web-im:/cache
notify:
image: drillster/drone-email
port: 25
secrets: [ plugin_host, plugin_from, plugin_username, plugin_password ]
when:
status: [ failure, success ]
|
Reference